How to Inspect an Insulation Job: A Quality Checklist for Buyers in Pakistan
Most of the calls I get about problems with insulation installations were not caused by defective material. The cause was in how the insulation was fitted: boards cut to a shorter length, gaps left at seams, a thinner layer than provided for in the quote, a vapor barrier that was left unsealed. By the time the owner has noticed, the ceiling has been completed, the cladding has been fitted, and the contractor has received his payment. Inspection of the work while it is still visible is the most cost effective quality assurance there is and it is not restricted to engineers.
Why Inspection Matters
Insulation is one of the few parts of a building that is hidden almost instantly after installation. Once it is covered up by a false ceiling, roof sheeting or metal cladding, it is out of sight until there is a problem. That leaves room for corners to be cut, intentionally and unintentionally, and a few hours’ inspection will usually uncover the main causes of failure before they are locked away where they can’t be seen.
Before The Job Starts: Check What Arrives On The Site
The inspection starts at the gate. Materials delivered to the site should be checked against the quotation.
- Product and labels: The packaging should show the manufacturer, product type, thickness and density. If the labels are missing or the packs have been opened and re-packed, this will need explaining.
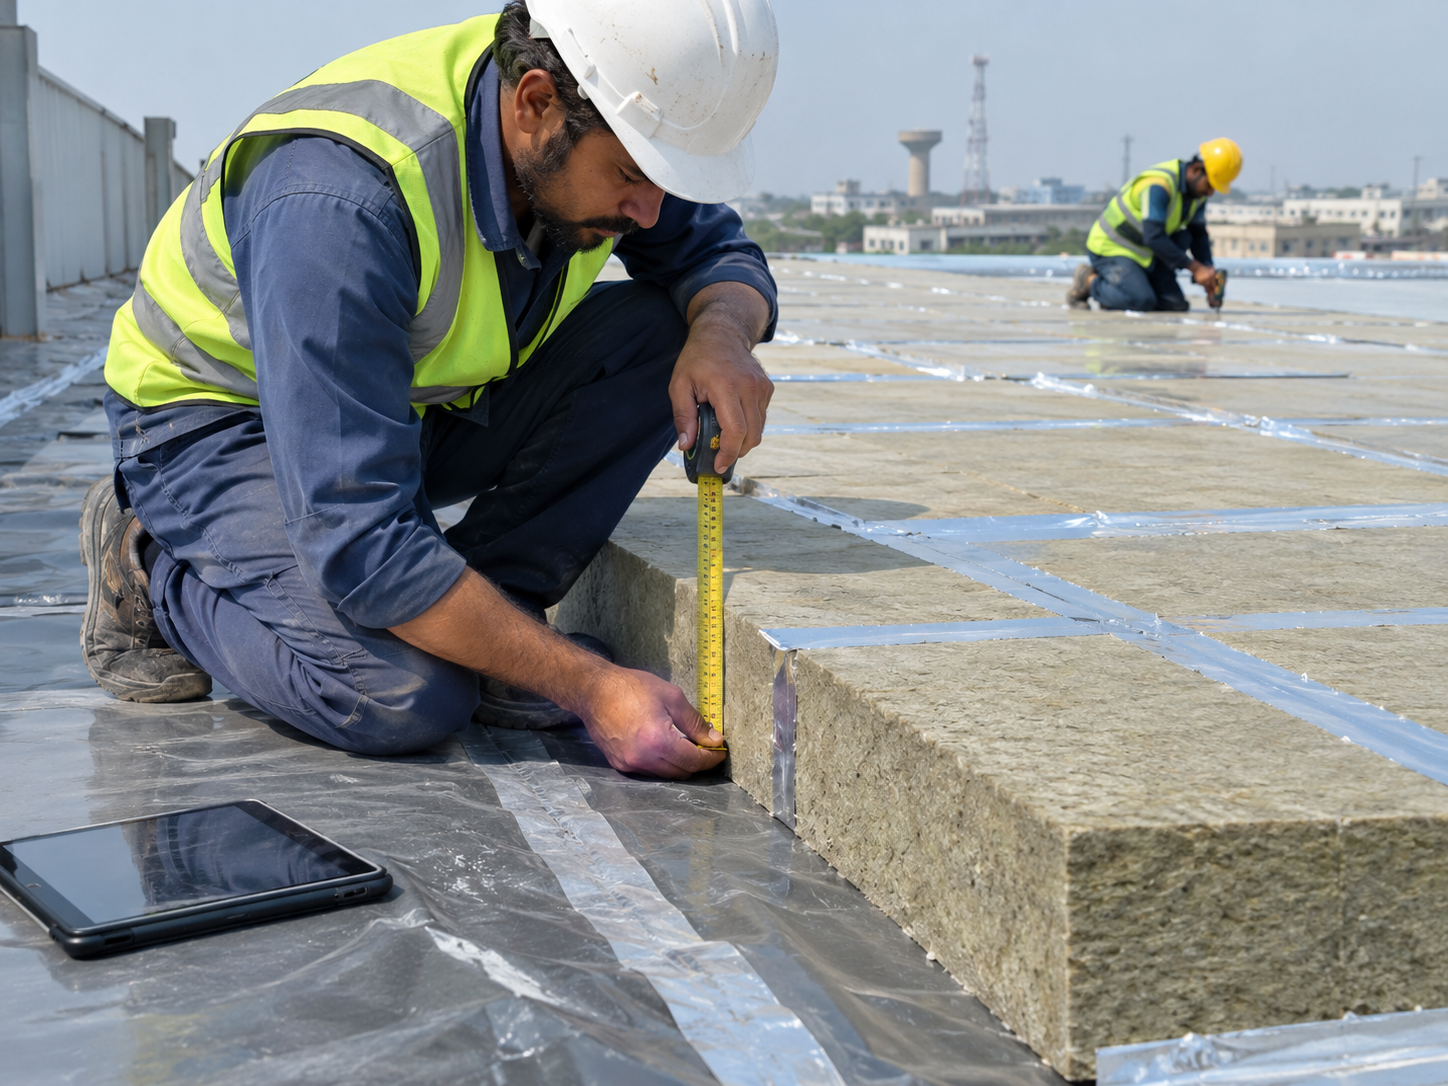
- Thickness: Take a few boards or rolls away from different packs and measure them yourself with a tape or ruler. Do not take the delivery note’s word for it.
- Density: You can’t see density, but a board that feels noticeably lighter or more flexible than the sample you approved should make you ask questions. Check the product datasheet against the product you are being delivered and against the specification you agreed.
- Condition: Material delivered wet, crushed or torn should not be used. Wet insulation will perform far below its rated capacity and will often trap the moisture against the surface it is fitted to.
- Facing and accessories: If the quote included items such as foil facing, vapor barrier film, tape or cladding, check that they arrive too.
During Installation: What To Look Out For
Now is the time to take a closer look, because all the work is still visible. Walk the area with the site supervisor and look at the following.
Thickness in the Finished Layer
The delivered and installed thicknesses are not always the same. Check a number of places, not just easy-to-see places. Insulation compressed under purlins, forced into a small space or trodden on will not perform as well as its rated thickness, since the compression will remove the air pockets that provide the insulation value.
Gaps, Joints and Cut Edges
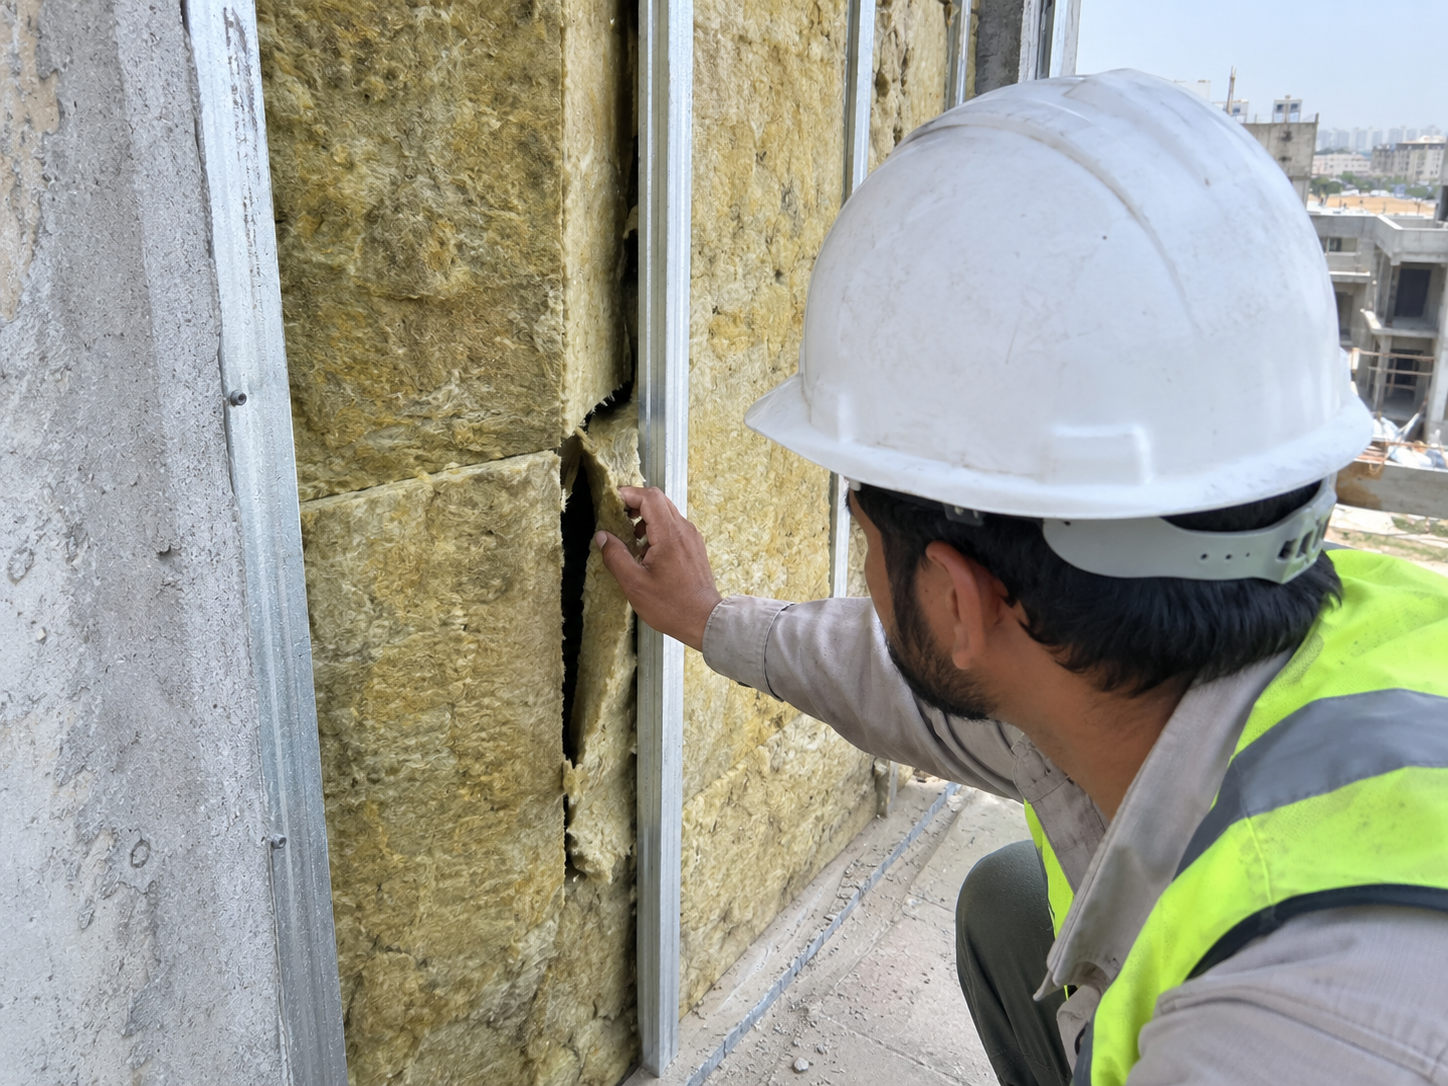
Look closely at the joints and the edges. The joints should be tight with no daylight showing through, no gaps you can slide a finger into. Edges around columns, beams, pipes, ducts and openings are where installers leave gaps – gaps that will carry far more heat than their apparent size suggests. Offcuts forced into gaps are an acceptable fix, loose scraps are not.
Vapor Barrier and Facing Seams
If the design includes a vapor barrier, check that the lapping is as specified and that seams are taped or sealed, not just lying side by side. Check the penetrations too, where pipes, cables and fixings pass through. An unsealed vapor barrier is letting moist air run into cold surfaces and the condensation it creates can ruin both the insulation and the structure behind. If this sounds like new information, my guide to vapor barriers will explain why the detail is so important.
Fixings and Support
Insulation has to stay where you put it. Check that fixings, hangers, support wires or adhesive are used at the spacing advised by the supplier and that boards on walls and soffits are held firmly rather than just lying on their edge. Sagging is a frequent roof and ceiling failure mode and it creates gaps at the top of every board.
Pipes, Ducts and Equipment
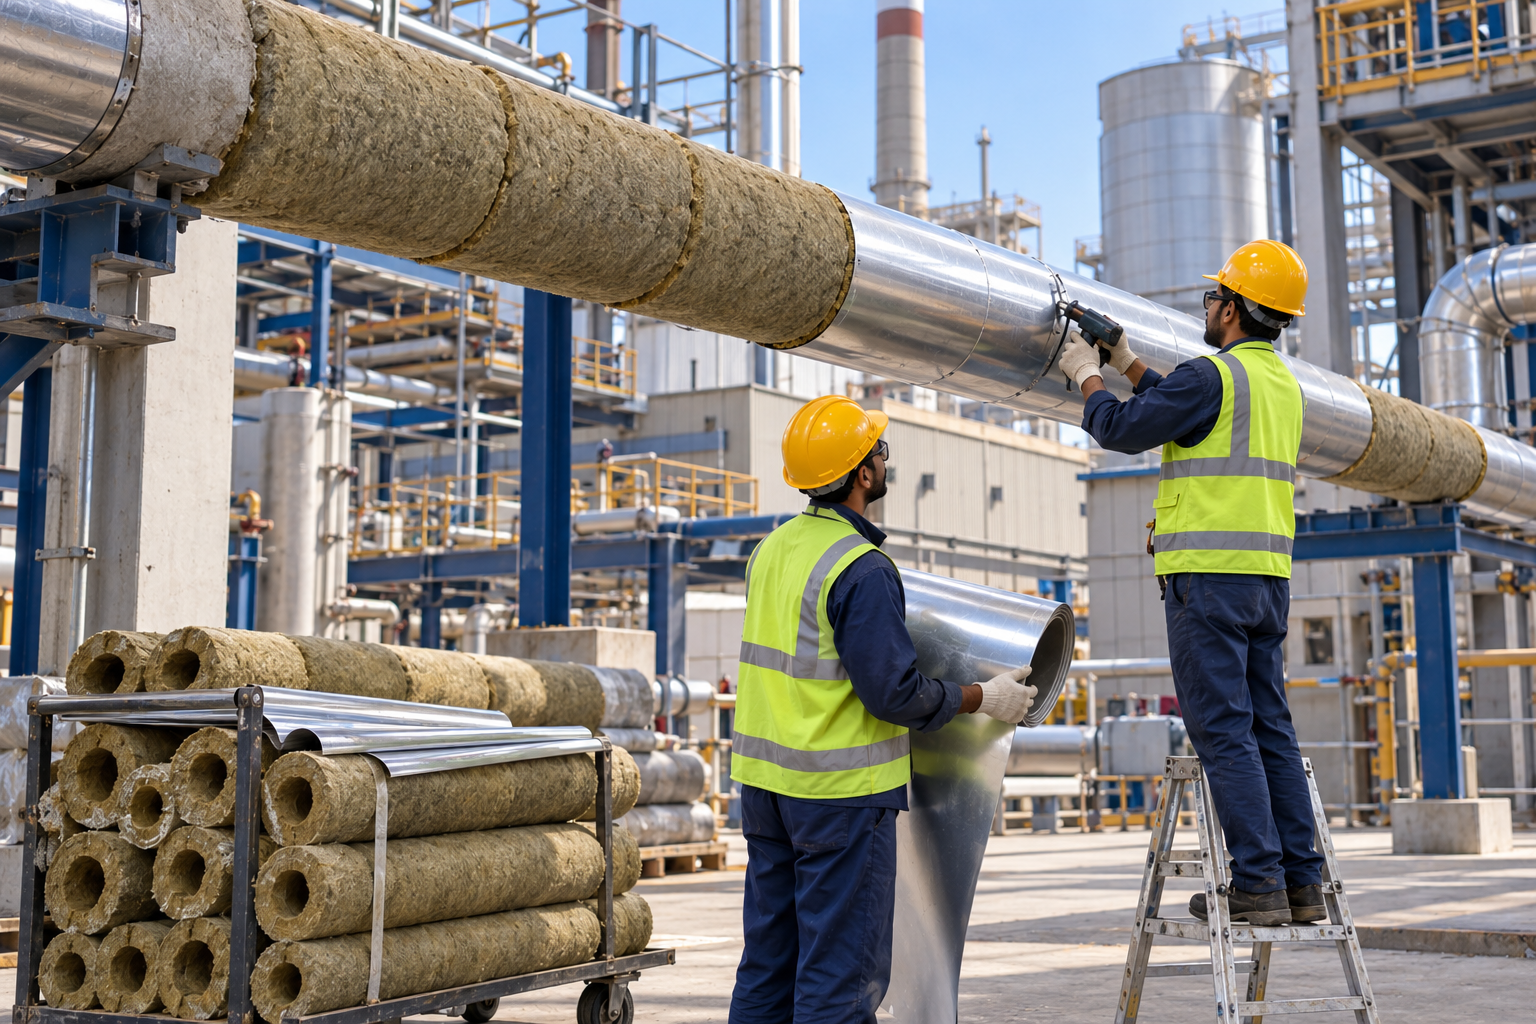
For pipework and equipment, look for complete coverage with no bare sections. Valves, flanges and fittings are the places most often missed. Where cladding is used, the joints should overlap in the right direction to shed water and be sealed where necessary, with no sharp edges cutting into the insulation underneath.
Fire-Rated Areas
In fire-rated walls, floors and penetrations, the detail is as important as the materials. Check that the right product is used in the right place, that there are no gaps around services passing through and that any fire stopping required is complete before the area is closed up. Ask the consultant or supplier to check on site if you are in any doubt.
Take Photos Before Anything Gets Covered Up
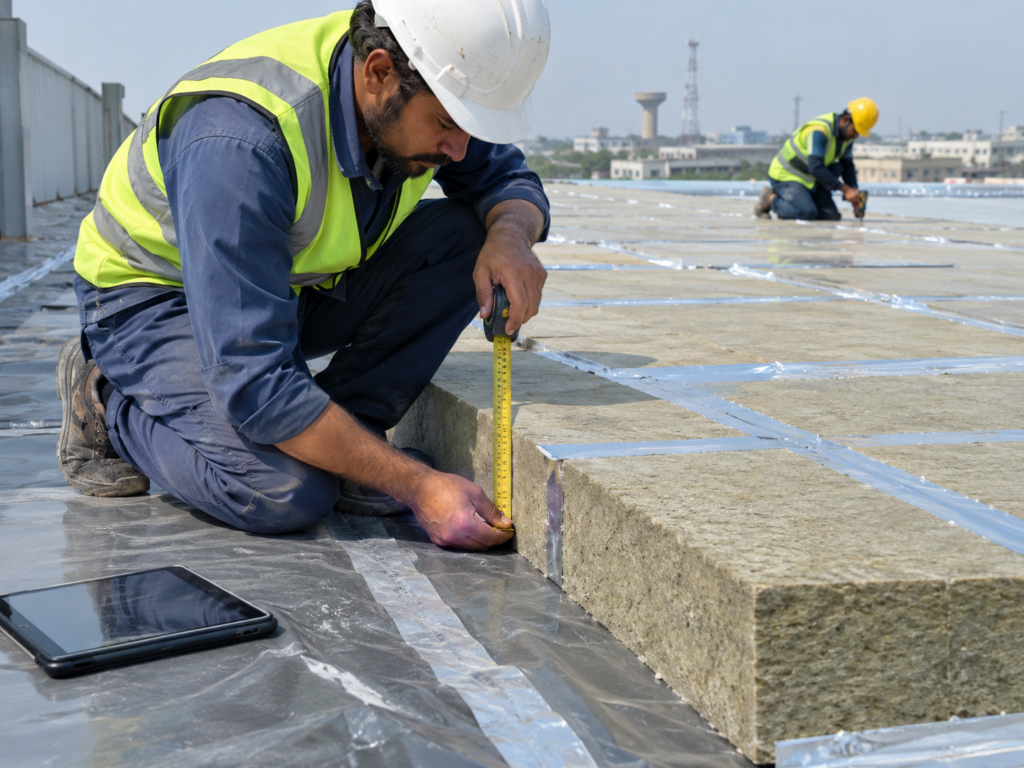
This is the easiest habit I can recommend. Photograph each area before it is closed up: the layer, the joints, the seams, the edges around penetrations. The tape measure in the picture shows the thickness. If a problem does arise, you have proof and it is likely to keep an otherwise-unmotivated contractor working hard on the right issues. Just knowing that photos are going to be taken will often improve standards.
Before You Make the Final Payment
Don’t leave the final inspection to happen after the ceiling is up. Before signing off, take a short list:
- Is the product matched to the type, thickness and density quoted?
- Were all areas insulated that should have been, including the awkward ones?
- Are the joints tight, the seams sealed and the fixings in place?
- Have damaged or wet sections been replaced?
- Have you received the datasheets, warranty and any test or compliance documents you were promised?
- Is the site tidy, with offcuts and packaging cleared away?
If something is wrong, raise it in writing and agree the fix and date before releasing the balance. Contractors are far more motivated when money is still outstanding.
The Mistakes I See Most Often
Across the jobs I’ve inspected, the same problems crop up: thinner or lower-density material than quoted, gaps around columns and penetrations, unsealed vapor barrier seams, compressed insulation under roof fixings, bare valves and flanges on pipework. None of them is difficult to spot once you know to look. Most will fix cheaply on the day, incurring costs far higher a year later.
Why This Matters
A good insulation job should pay back many times its initial cost through lower cooling and heating bills, increased comfort and a longer life for the buildings. A poor installation quietly cancels that out, even with the best material. Spending a few hours on inspection protects an investment that is often far bigger than the cost of the inspection itself. If you want a second pair of eyes on a project, whether it is mid-installation or already complete, my team is happy to help.
Frequently Asked Questions
How do I check that the insulation thickness is what I paid for?
Measure the boards or rolls on delivery, and measure the installed layer at several points using a tape or ruler. Compare both against the thickness in your quotation and the product datasheet.
Can I verify insulation density without lab testing?
Not precisely. You can ask for the manufacturer’s datasheet, check the product label, and compare the material against the sample you approved. Ask the supplier for batch details or request independent testing if you suspect a substitution.
What are the signs of a poor insulation installation?
Visible gaps at joints and edges, sagging boards, compressed or damaged material, unsealed vapor barrier seams, bare valves and flanges, and areas left uninsulated around columns, openings and penetrations.
When is the best time to inspect insulation?
During installation and before it is covered by ceilings, cladding or finishes. Once it is hidden, problems are far harder and more expensive to find and fix.
What documents should I ask for at handover?
Product datasheets, any warranty, and test or compliance documents that were part of the agreement, along with the photos taken during installation if you are keeping a record.
Contact Pakistan Insulations today for a free consultation and quote.
Phone: +92-21-34529722
Email: [email protected]
Website: www.pakinsulation.com